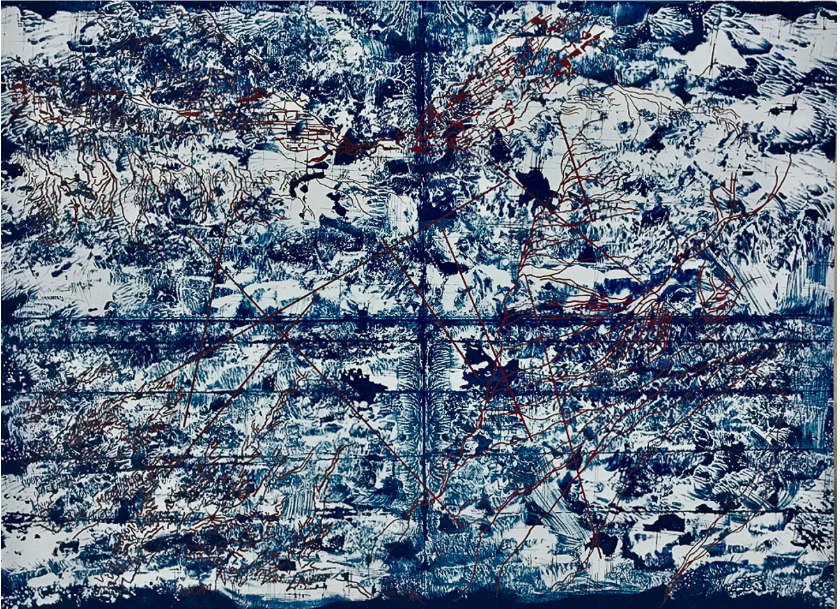
Jaz Graf, Between What Was, Cyanotype and Silkscreen.
Materials:
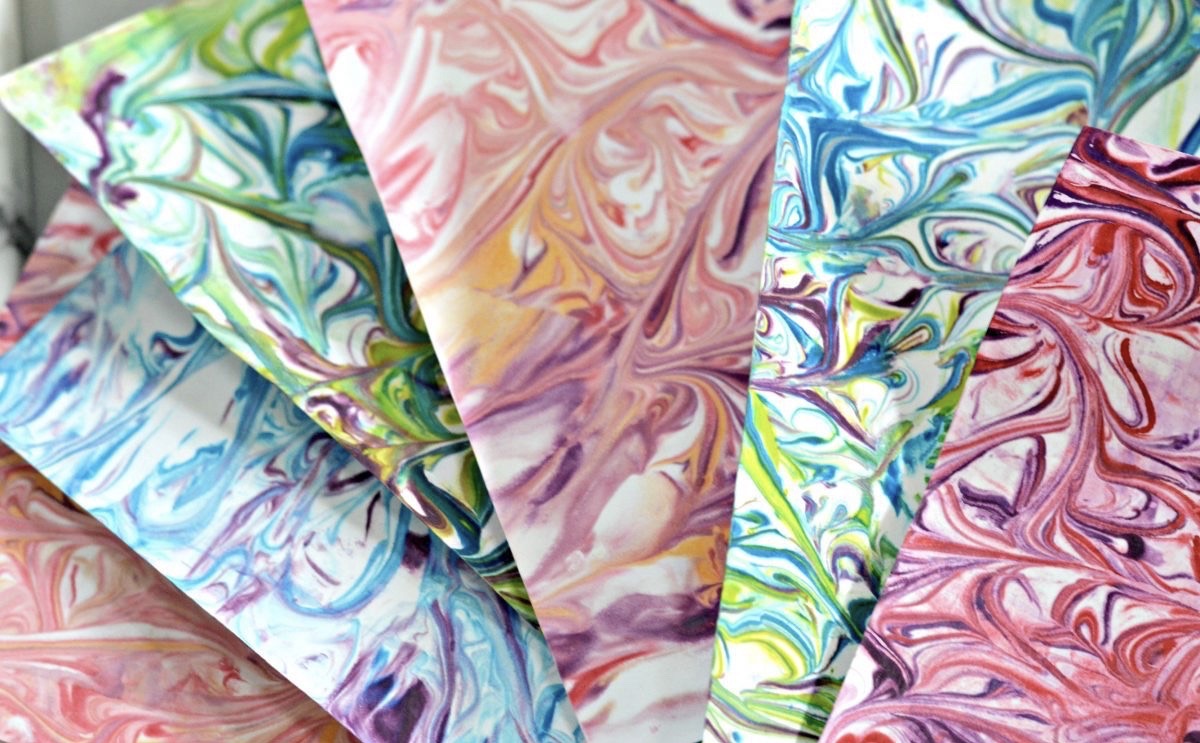
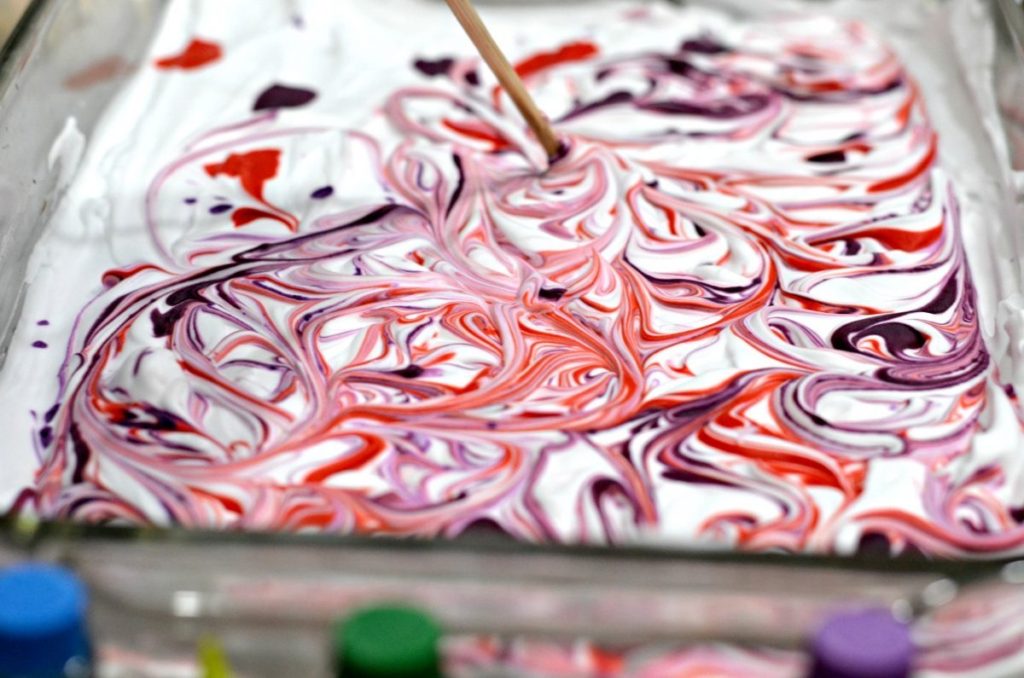
Shaving Cream
Tray
Food coloring (paint can be used as a substitute)
Toothpicks or wood skewers (to create design)
White cardstock or watercolor paper (to absorb without falling apart) Ruler
Gloves (optional)
Paper towels